Starting seeds indoors is a rewarding way to kickstart your garden, but it doesn’t have to involve expensive equipment or materials. Repurposing items like milk jugs can provide a cost-effective and eco-friendly alternative. In this guide, we’ll walk you through the simple steps of starting seeds in a recycled milk jug, helping you nurture your plants from the very beginning.
Step 1: Gather Your Materials
The first step is to gather the necessary materials. Here’s what you’ll need:
Empty, clean milk jug
Sharp scissors or utility knife
Potting soil
Seeds
Water
Step 2: Prepare the Milk Jug
Using the scissors or utility knife, carefully cut around the top of the milk jug, leaving about a two-inch border from the bottom intact. This will create a hinged lid that you can open and close.
Next, poke several drainage holes in the bottom of the jug to allow excess water to escape. You can use a nail, awl, or any sharp object to make these holes.
Step 3: Add Potting Soil and Seeds
Fill the bottom of the milk jug with potting soil, leaving enough space for the roots of your seeds to grow. Moisten the soil with water until it is damp but not soggy.
Now, plant your seeds according to the instructions on the seed packet. Make sure to space them out evenly and cover them with a thin layer of soil.
Step 4: Close the Lid and Water
Once your seeds are planted, close the lid of the milk jug and gently water the soil until it is evenly moist. Be careful not to overwater, as this can lead to mold or rot.
Step 5: Provide Adequate Light and Ventilation
Place your milk jug in a sunny location where it will receive at least six hours of sunlight per day. If sunlight is limited, you can use a grow light to supplement.
To prevent the buildup of condensation inside the jug, open the lid for a few hours each day to allow for air circulation. This will help prevent mold and mildew from forming.
Step 6: Monitor and Maintain
Check your seeds regularly for signs of growth and moisture levels. If the soil feels dry to the touch, water lightly to keep it moist.
As your seedlings grow, you may need to thin them out to prevent overcrowding. Simply snip off the weaker seedlings at soil level, leaving the strongest ones to thrive.
Step 7: Transplant Seedlings
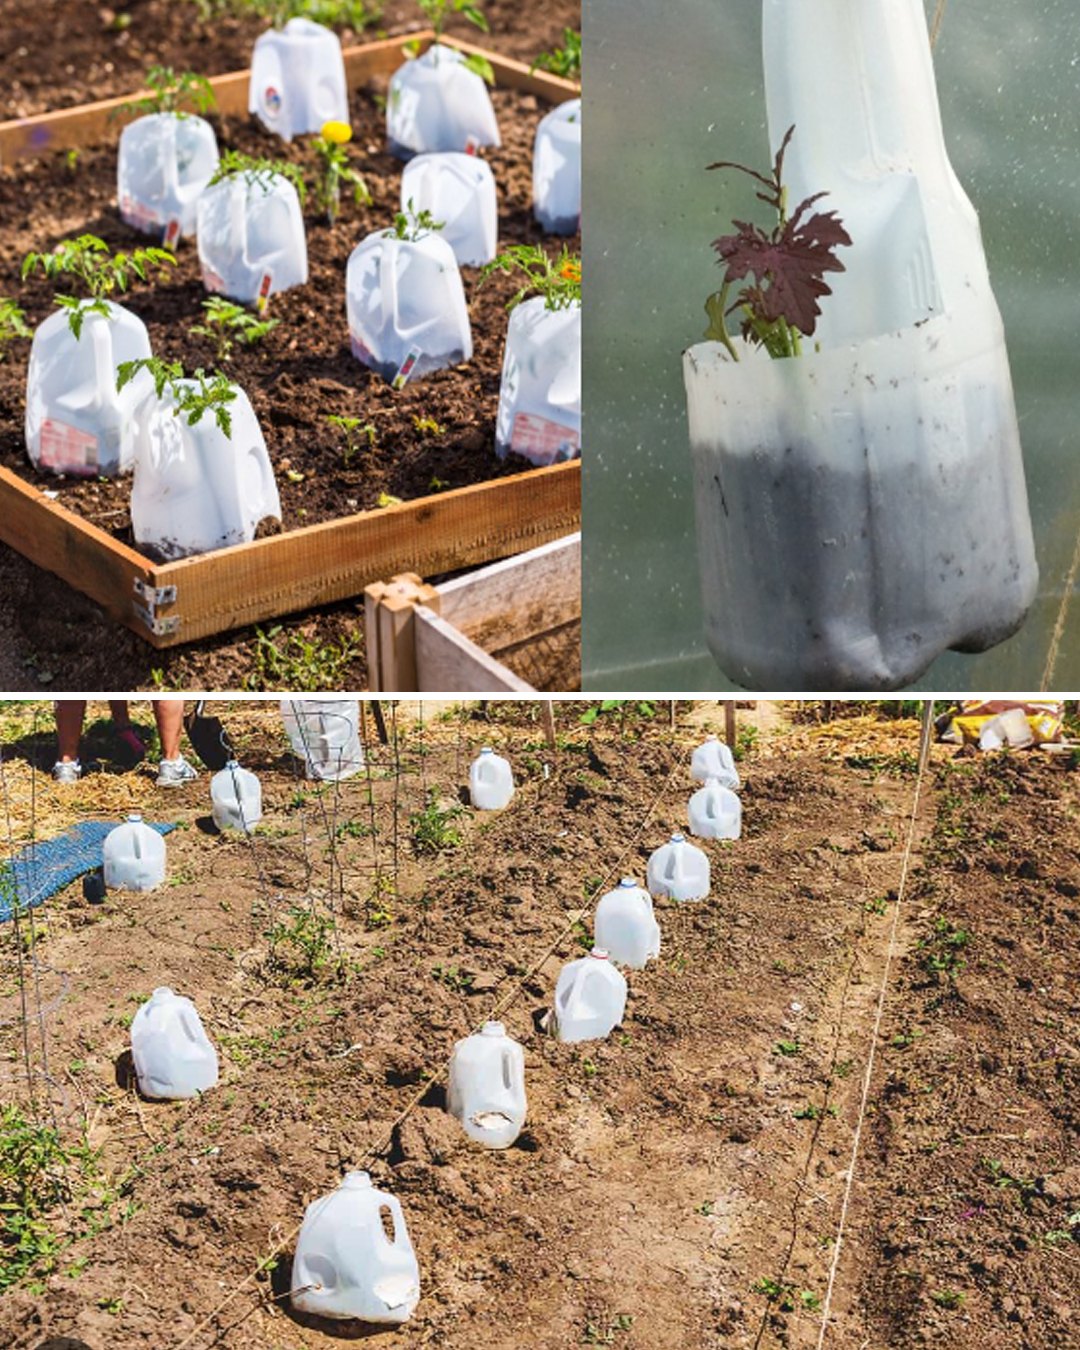
Once your seedlings have developed strong roots and several sets of true leaves, they are ready to be transplanted into larger containers or directly into your garden.
Carefully remove the seedlings from the milk jug, taking care not to damage the roots, and plant them in their new home. Water thoroughly to help them establish themselves in their new environment.
Starting seeds in a recycled milk jug is a simple and sustainable way to jumpstart your garden. By repurposing items you already have on hand, you can save money and reduce waste while enjoying the satisfaction of watching your seeds grow into healthy plants. So, grab a few empty milk jugs and give it a try – your garden will thank you!