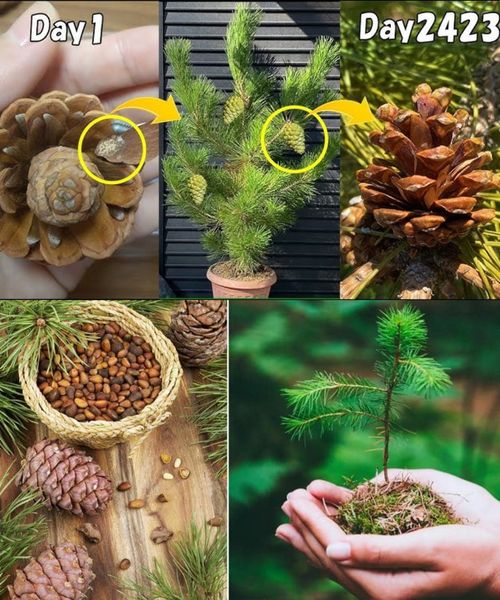
Pine trees symbolize strength, resilience, and longevity, making them a cherished addition to any landscape. While purchasing young saplings is a common way to introduce pine trees to your garden, another fascinating method involves growing them from pine cones. Not only is this approach cost-effective, but it also offers a deeper connection to the natural lifecycle of these majestic trees. In this comprehensive guide, we’ll walk you through the process of growing pine trees from pine cones and provide essential care tips to ensure their healthy development.
Step 1: Pine Cone Selection
Choose mature, healthy pine cones from a reputable source or collect them from mature pine trees in your area. Look for cones that are fully developed, firm, and free from damage or mold.
Step 2: Preparing the Pine Cones
To encourage seed release, place the pine cones in a warm, dry location for several days. This process, known as stratification, helps loosen the scales and release the seeds contained within the cones.
Once the cones have dried, gently shake or tap them to dislodge the seeds. Collect the seeds in a container, discarding any debris or empty shells.
Step 3: Seed Treatment
To enhance germination rates, soak the pine seeds in water for 24-48 hours. This softens the seed coat and promotes quicker germination.
After soaking, place the seeds in a plastic bag filled with moist peat moss or vermiculite. Seal the bag and store it in the refrigerator for 4-6 weeks to simulate the cold stratification period required for pine seed dormancy.
Step 4: Planting the Seeds
Fill small pots or seed trays with a well-draining potting mix formulated for seed starting. Moisten the soil slightly before planting.
Plant the pine seeds about 1/4 to 1/2 inch deep in the soil, spacing them several inches apart. Gently press the soil to ensure good seed-to-soil contact.
Step 5: Providing Optimal Conditions
Place the pots or trays in a sunny location with indirect sunlight. Maintain consistent moisture levels by watering lightly whenever the soil surface feels dry to the touch.
Keep the seeds warm and protected from frost during the germination period, which typically ranges from 2 to 6 weeks.
Step 6: Transplanting Seedlings
Once the pine seedlings have developed several sets of true leaves and outgrown their containers, they are ready for transplanting into larger pots or directly into the garden.
Choose a sunny location with well-draining soil for transplanting. Space the seedlings according to the specific requirements of the pine species you are growing.
Step 7: Care and Maintenance
Water newly transplanted seedlings regularly to keep the soil consistently moist, but avoid waterlogging, as this can lead to root rot.
Apply a balanced fertilizer designed for trees and shrubs to promote healthy growth. Follow the manufacturer’s instructions for application rates and frequency.
Protect young pine trees from pests such as deer, rabbits, and rodents by using physical barriers or repellents. Monitor for signs of disease and treat promptly if detected.
Step 8: Long-Term Care
As your pine trees mature, continue to provide regular watering, especially during periods of drought or extreme heat.
Monitor for signs of nutrient deficiencies and adjust fertilizer applications as needed to maintain optimal health and vigor.
Prune dead or diseased branches as necessary to promote strong, well-shaped trees. Avoid over-pruning, as this can stress the tree and make it more susceptible to pests and diseases.
With proper care and attention, pine trees grown from pine cones can thrive and become a lasting legacy in your landscape. Enjoy the beauty and benefits of these iconic trees for generations to come.
