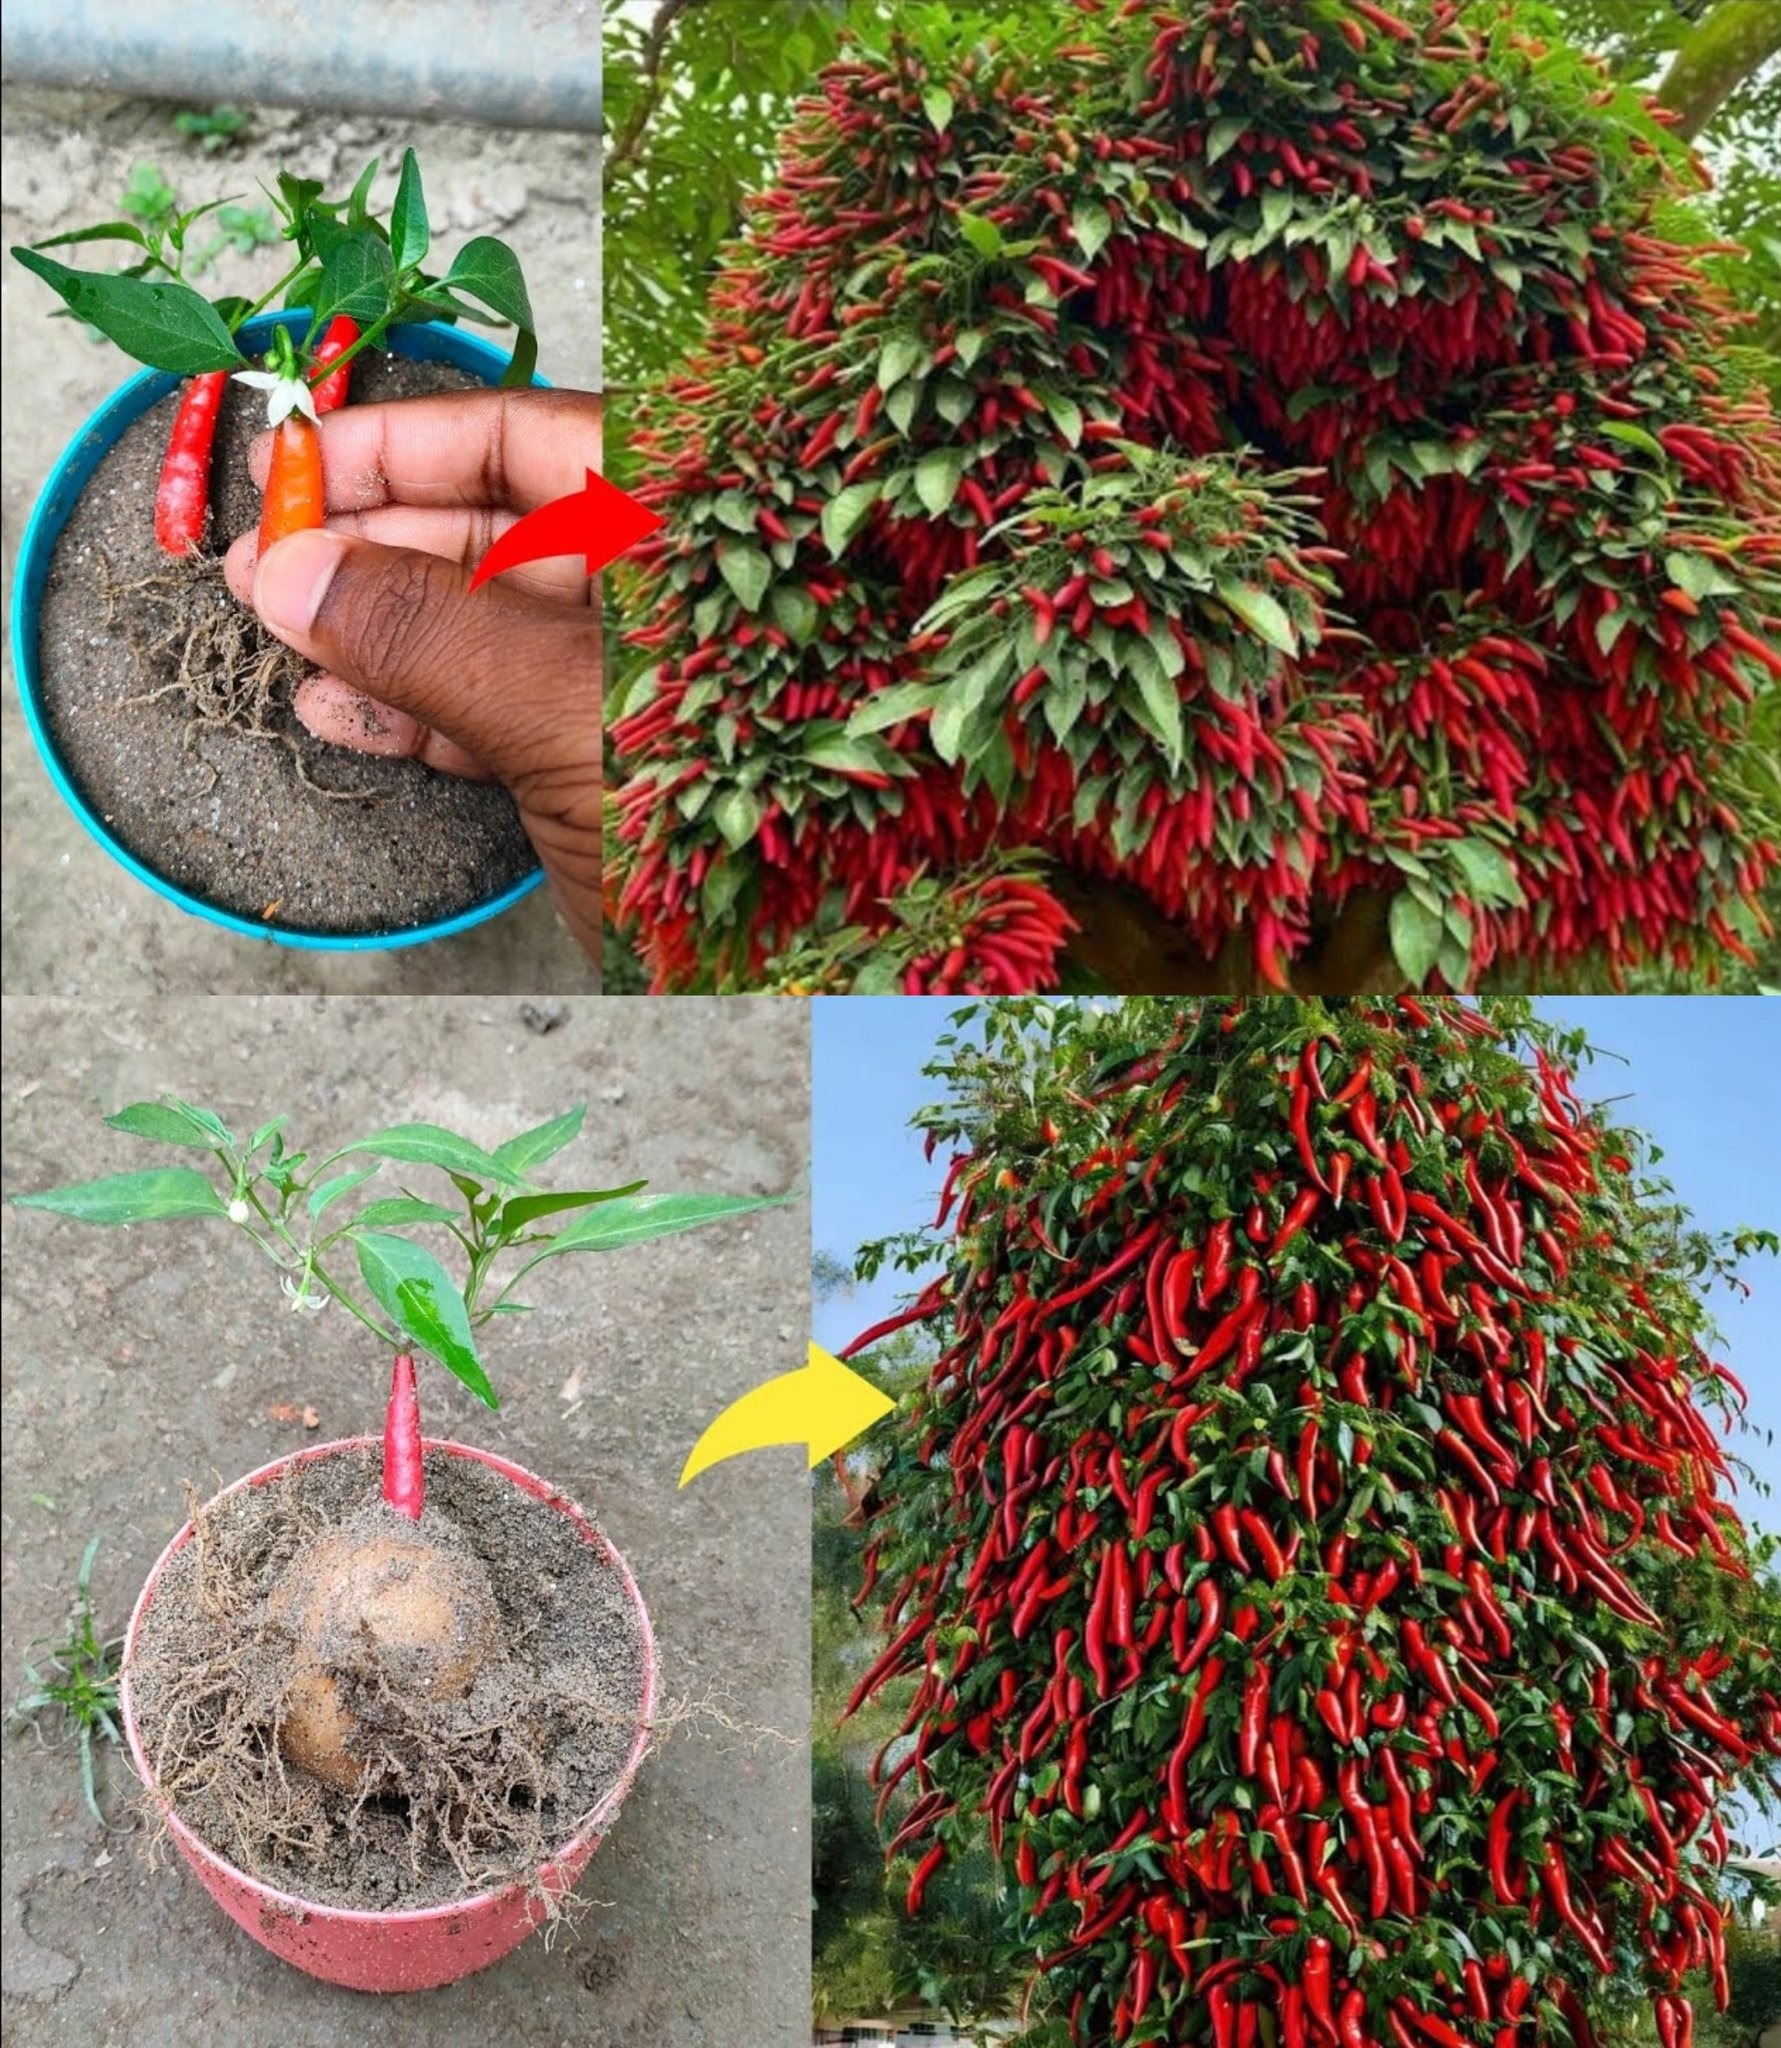
Growing chili at home is a rewarding and relatively simple process. Here’s a step-by-step guide to help you grow chili plants at home, ensuring a continuous supply of fresh chilies throughout the seasons:
Materials Needed:
- Chili Seeds or Seedlings:
- Purchase quality chili seeds or seedlings from a reputable source. Choose a chili variety that suits your taste preferences and growing conditions.
- Containers or Pots:
- Select containers with drainage holes for planting chili seeds or seedlings.
- Potting Mix:
- Use a well-draining potting mix enriched with organic matter.
- Fertilizer:
- Choose a balanced, water-soluble fertilizer suitable for vegetables.
- Watering Can or Hose:
- Ensure a consistent watering routine for your chili plants.
- Sunlight:
- Find a sunny location for your chili plants. They thrive in full sunlight.
Steps:
- Choosing the Right Variety:
- Select a chili variety that suits your taste preferences and the growing conditions in your area. Common varieties include Jalapeño, Thai Bird’s Eye, Cayenne, or Bell Peppers.
- Planting Chili Seeds:
- If starting from seeds, plant them in seed trays or small pots. Plant the seeds about 1/4 inch deep in the soil and keep them well-moistened.
- Transplanting Seedlings (Optional):
- Once your chili seedlings have grown to a suitable size (2-3 inches tall), transplant them into larger containers or directly into your garden.
- Preparing the Soil:
- Use a well-draining potting mix or prepare your garden soil by adding compost. Chilies prefer slightly acidic to neutral soil.
- Spacing:
- If planting multiple chili plants, ensure proper spacing (at least 12-18 inches apart) to allow for good air circulation and optimal growth.
- Watering:
- Keep the soil consistently moist, but avoid overwatering to prevent waterlogged conditions. Water when the top inch of soil feels dry.
- Fertilizing:
- Feed your chili plants with a balanced fertilizer every 2-4 weeks during the growing season. Follow the package instructions for application rates.
- Support (Optional):
- Some chili varieties may benefit from staking or support structures, especially when heavy with fruit.
- Sunlight Requirements:
- Ensure your chili plants receive at least 6-8 hours of direct sunlight daily for optimal growth and fruit production.
- Pruning (Optional):
- Pinch back the tips of your chili plants when they reach 6-8 inches in height. This encourages bushier growth and more fruit production.
- Harvesting:
- Harvest your chilies when they reach the desired size and color. Chilies can be harvested green or allowed to ripen to their final color.
- Protect from Pests:
- Keep an eye out for pests like aphids or caterpillars. Use organic or chemical controls as necessary.
- Successive Planting:
- Consider planting new chili seeds or seedlings every few weeks to ensure a continuous harvest throughout the growing season.
Additional Tips:
- Choose Container Size Wisely:
- If growing in containers, choose pots that are at least 10-12 inches in diameter for optimal root development.
- Use Mulch:
- Mulch around the base of your chili plants to retain soil moisture and suppress weeds.
- Variety-Specific Care:
- Be aware that different chili varieties may have specific care requirements. Read up on the specific needs of the variety you’ve chosen.
Growing chili at home is a fun and accessible gardening project. By following these steps and adjusting them based on your specific growing conditions, you’ll be able to enjoy fresh and clean chilies throughout the seasons.