Okra, also known as ladyfinger or gumbo, is a warm-season crop known for its succulent pods. Rich in carbohydrates, protein, dietary fiber, vitamins and minerals, it can be a superfood in your garden. The best part is that this vegetable is very easy to grow and care for, making it an indispensable addition to any garden. So are you ready to enjoy the thrill of watching those vibrant green pods emerging from seeds?
PROCESS TO GROW OKRA
Step 1: Prepare And Germinate Seeds
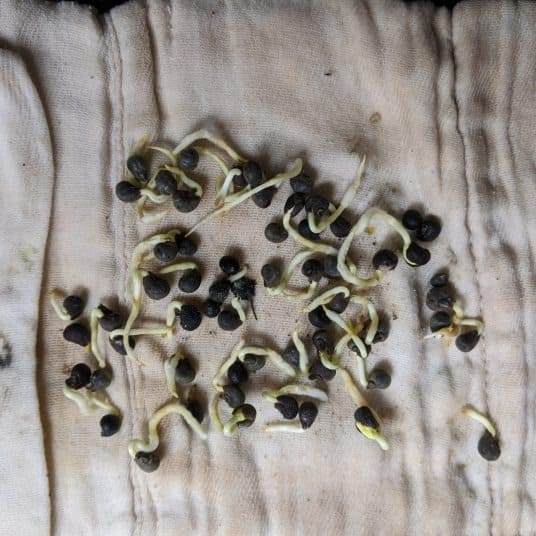
The process begins with choosing quality seeds. You should choose a well-draining seed-starting mix and sow your okra seeds indoors about 6-8 weeks before the last frost. Give these seeds a cozy home by placing them about 1/2 inch deep in the soil.
Now, it’s the waiting game. Ensure your seeds are kept consistently moist, and you’ll soon witness the magic of germination. Once those tiny green sprouts emerge, you’re ready for the next step.
Step 2: Plant Okra Seed
Transplant your young okra plants outdoors when all chances of frost have gone. Choose a sunny spot for your okra patch, as these plants adore sunlight. Space them about 12-18 inches apart, giving each one room to stretch its leafy limbs. Okra isn’t too fussy about soil but prefers it slightly acidic. You can also mulch them to retain moisture and suppress weeds.
Step 3: Take Care Of Okra
1. Sunlight
Your okra babies need some TLC to thrive. Sunlight is their best friend, so ensure they get at least 6-8 hours of it daily. It can tolerate some shade, but it will produce fewer pods and may be more susceptible to diseases.
2. Watering
Okra is one of the more drought-tolerant vegetables, but it still needs regular watering to thrive. Water okra once a week, providing about 1 inch of water per plant. Let the soil dry out slightly between waterings, but don’t let it wilt. Too much water can cause root rot and fungal infections. You should also be careful with overhead watering, which can spread diseases and damage the flowers and pods.
3. Soil And Fertilizer
Okra prefers soil that is rich in organic matter and has a pH level between 5.8 and 7.0. You can add compost or manure to the soil before planting to improve its fertility and drainage.
Okra also benefits from a balanced fertilizer, such as 10-10-10, applied at planting and every 4-6 weeks thereafter. However, you should avoid fertilizers that are high in nitrogen, which can promote leafy growth at the expense of flowering and pod production. Instead, use fertilizers that are higher in phosphorus, which can stimulate blooming and fruiting.
It can suffer from several pests and diseases that can reduce its yield and quality, such as aphids, caterpillars, leaf spots… If these pesky visitors decide to join the party, a gentle spray of soapy water will help.
Step 4: Harvest And Storage
1. Harvest
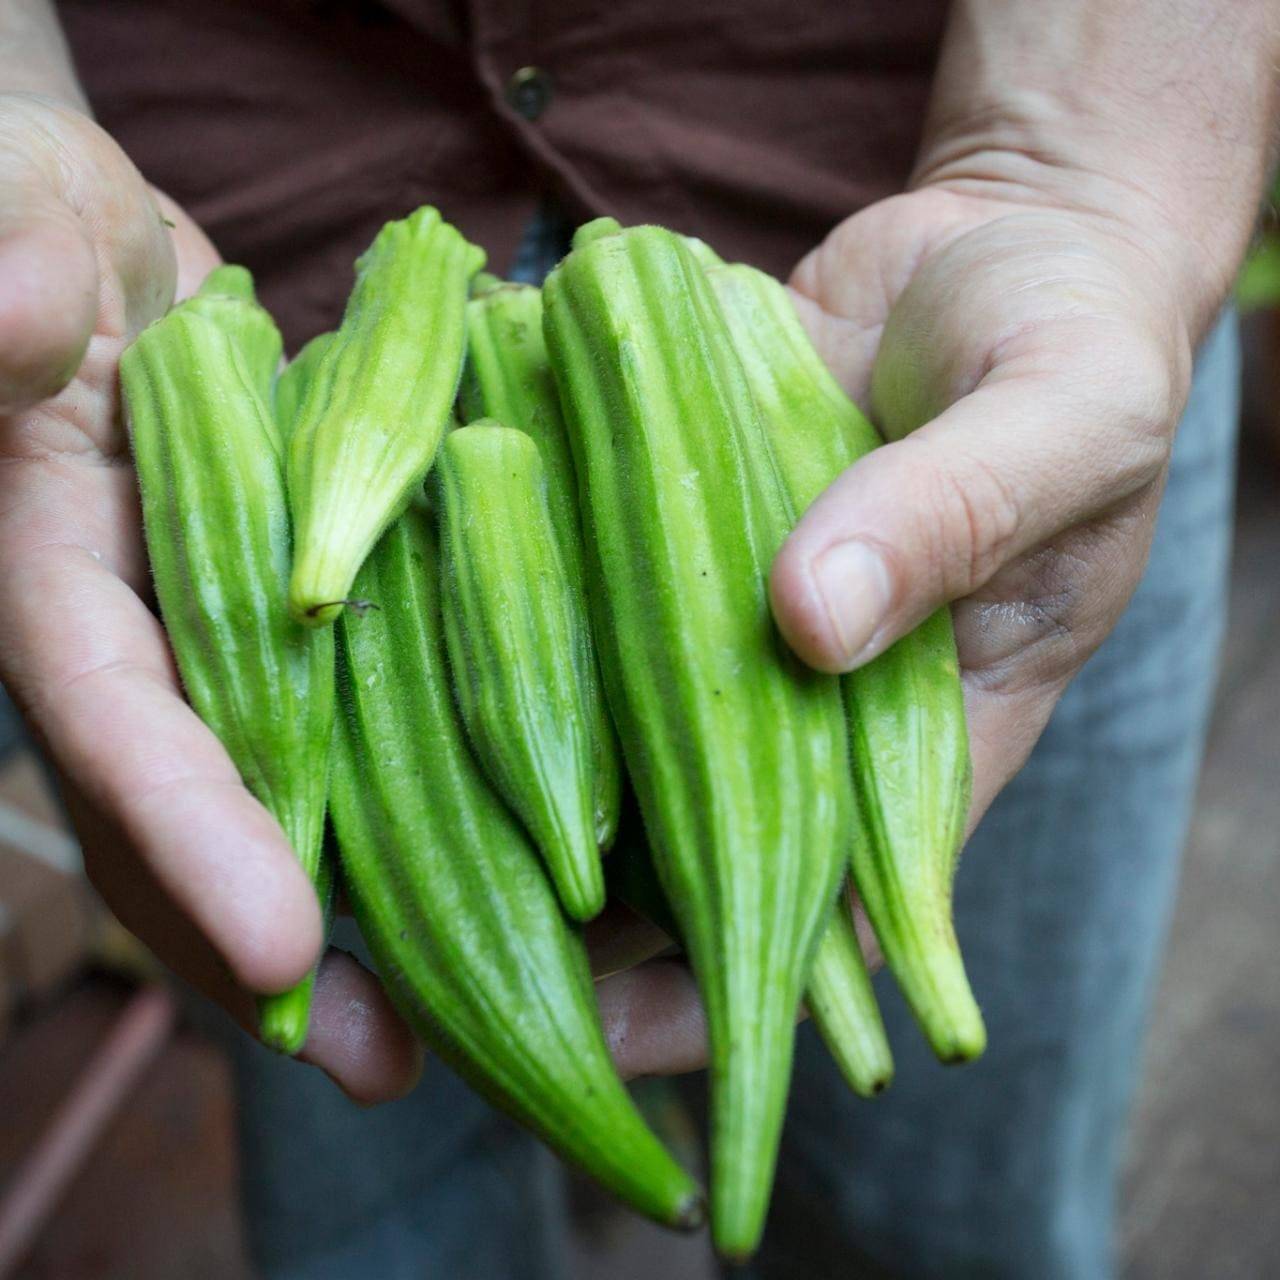
Okra pods are best picked when they’re about 2-3 inches long. Harvest them every 2-3 days to keep the production flowing. Use a sharp knife or scissors to snip the pods, they’ll be happiest if you do it early in the day. Beware, okra pods can get a bit prickly, so don some gloves for a smoother harvest experience.
2. Storage
If you end up with more okra than you can devour immediately, fear not. Okra freezes well, just blanch them before freezing, and they’ll be ready for your culinary creations all year round.
OTHER TIPS FOR SUCCESS
- Crop rotation: It helps prevent soil-borne diseases, so change the location of your okra patch yearly.
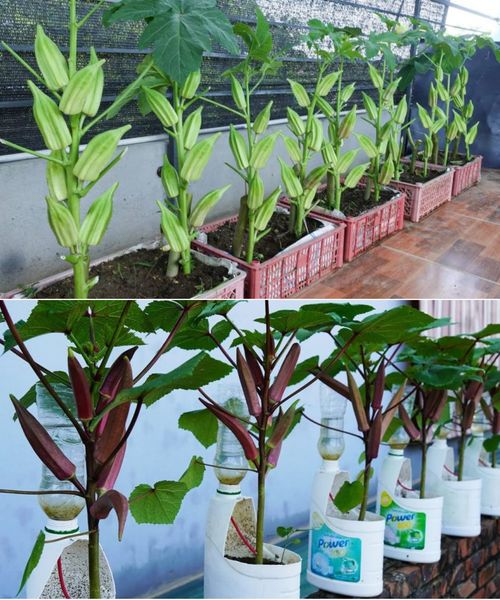
- Growing okra in containers: If you’re facing space constraints, okra is amenable to container gardening. Just make sure your pots are at least 12 inches deep for those roots to stretch comfortably.
- Companion plants: Companion planting with marigolds or basil can also help deter pests and boost your okra’s well-being.
Growing okra from seeds brings not just garden abundance but a delicious addition to your table. From the initial tender sowing to the moment you harvest those little pods, it is filled with anticipation, care, and the joy of homegrown goodness.


