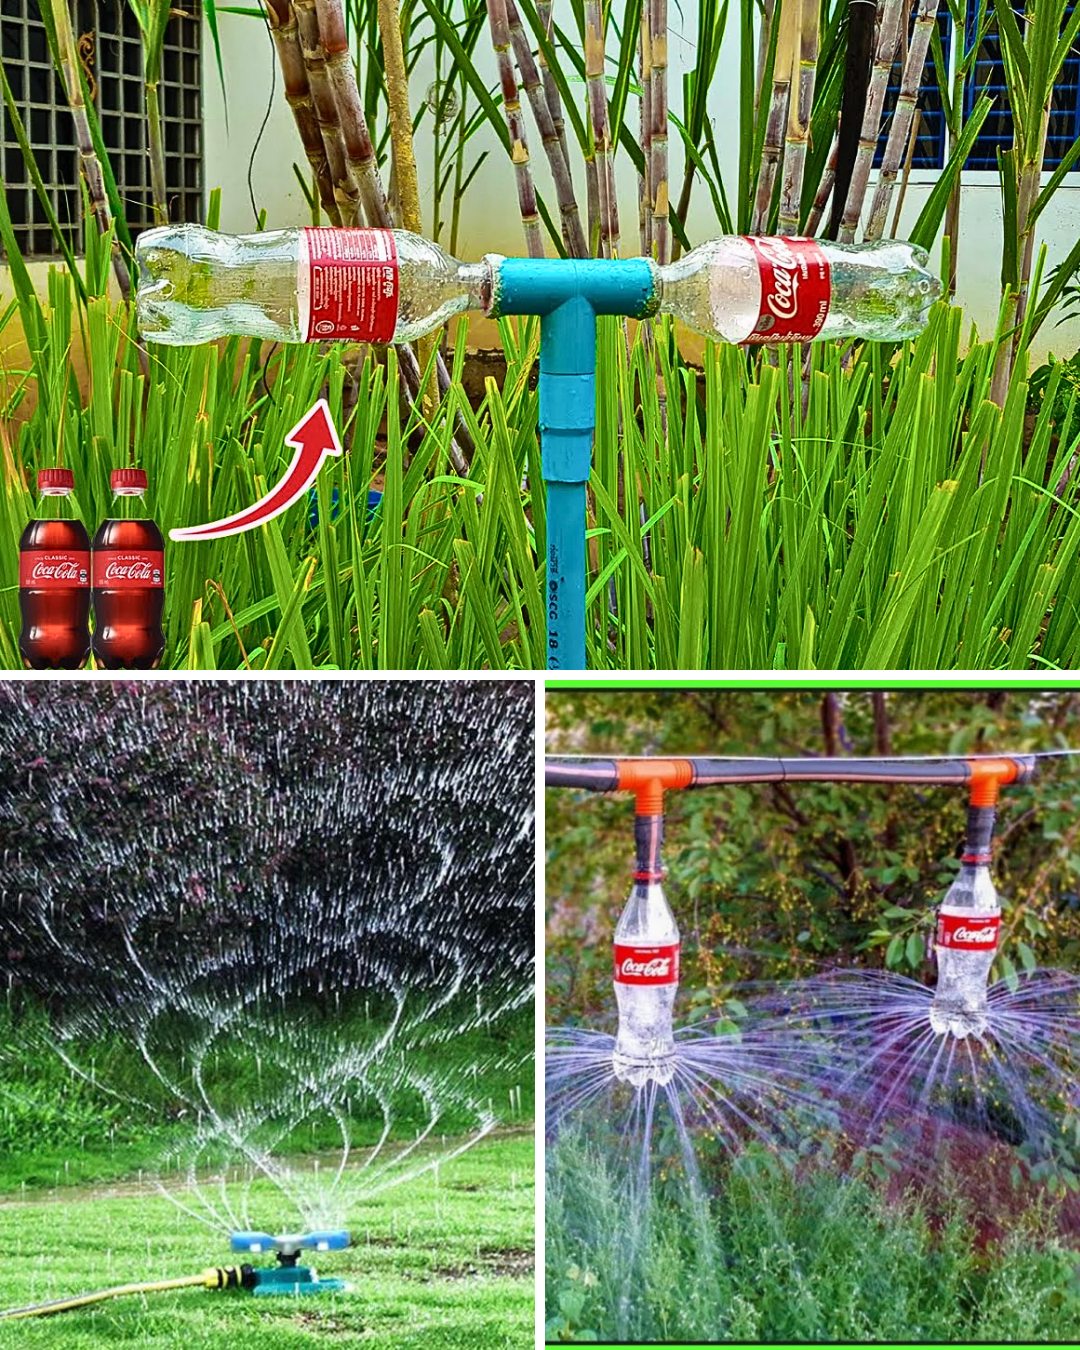
How to Make a Rotating Irrigation Sprinkler Using Plastic Bottles: An Easy and Affordable DIY Guide
Upgrade your garden irrigation system with this easy and affordable DIY project! By integrating a mechanical bearing into the design, we enhance the rotation mechanism for smoother operation and durability. Follow this step-by-step guide to create your own efficient and eco-friendly rotating sprinkler.

Materials Needed:
- 2 plastic bottles (0.5-liter size)
- PVC ‘T’ connector (slightly smaller diameter than bottle mouth)
- 1 larger PVC pipe (for bearing housing)
- 1 smaller PVC pipe (for bearing axis)
- Mechanical bearing (compatible with smaller PVC pipe diameter)
- PVC glue
- Waterproof sealant or rubber seals
- Drill or sharp tool for making holes
Step-by-Step Guide:
- Preparing the PVC ‘T’ Connector:
- Gently heat the PVC ‘T’ connector to make it flexible.
- Insert the plastic bottles into the ends securely, avoiding overheating.
- Modifying the Plastic Bottles:
- Drill a hole in the middle of each bottle, pointing upwards, for water spray.
- Make another hole at the bottom side of each bottle for the rotating mechanism.
- Constructing the Rotating Mechanism:
- Choose a larger PVC pipe to house the mechanical bearing.
- Glue the bearing inside one end of the pipe, ensuring it’s centered for smooth rotation.
- Slide the smaller PVC pipe through the bearing as the rotation axis.
- Seal both ends of the larger pipe around the smaller one to prevent water leakage.
- Assembly:
- Connect a garden hose to the bottom end of the smaller PVC pipe for water supply.
- Attach the PVC ‘T’ connector with bottles to the top end of the smaller PVC pipe securely.
Finishing Touches:
- Test the sprinkler’s rotation by adjusting water flow.
- Choose a durable bearing resistant to water exposure.
- Paint or treat PVC parts to protect them from the elements and extend lifespan.
Tips for Success:
- Test rotation before sealing to make adjustments.
- Ensure balanced assembly for even rotation.
- Regularly maintain and inspect for optimal performance.
This upgraded design combines simplicity with efficiency, providing an even distribution of water across your garden. It’s a rewarding weekend project that showcases your DIY skills while promoting sustainability in gardening.


