The olive tree reminds us of the earth, the warm air, and the Mediterranean. In stores, pure olive oil is presented as a luxury. The challenge is to find the best extraction. We like to call it “extra virgin olive oil.” Nature lovers and ecologists try out the right tricks to bring this luxury home.
Growing an olive tree is a project, an adventure. The tree grows, and we grow with it. We learn from its patience, care for it, and water it… and when it wants to, it gives back to us. This article is for those who will be delighted to grow an olive tree in their garden. What grace to adorn your garden with this tree that recalls generosity!
These are simple but targeted guidelines. If strictly followed, they guarantee the growth, development, and longevity of your olive tree from home with just one seed!
How to Grow an Olive Tree Indoors?
We’ll show you the process, divided into 3 main phases. Yes, it’s worth it.
Before starting the process, you must decide on the variety of olive tree you want to plant. Olive trees are not all the same, and the same goes for the color and aroma of their olives. This difference depends on the species of the plant, its environment, and the ripening time of the fruits.
So, we recommend that you research the variety of olive tree that could grow, thrive, and, most importantly, bear fruit based on your conditions, soil, and climate.
How to Use Olive Seeds?
Now that the choice of olive tree has been made reasonably, let’s see how to collect the olive seeds.
Harvest Olives at the Beginning of Autumn:
It’s about picking olives directly from an olive tree, so that the seeds are still alive. The season is important because it’s the time for green and ripe fruits, and also because the olive tree thrives in a winter hardiness zone between 8 and 10.
Beware of commercial olives whose pits have been damaged by chemical additives. We recommend taking a few trips to neighboring farms; you have a good chance of coming across organic ones!
Soak Olives in a Bucket of Warm Water:
This will soften them so that the skin comes off easily from the pit. After soaking overnight, the olives will be pliable. Remember to stir the water every three hours. Bad olives can float to the surface, indicating they are rotten and thus should be banned from the process.
Drain the Olives and Collect the Seeds:
Now the olives are soft and easy to shape. Crush them with a hammer or a sharp knife to separate them from the seeds. Use an abrasive sponge, a knife you’re comfortable with, or sandpaper to clean the seeds from the olive flesh to get them all clean.
Cut the Olive Seeds, but Not Completely:
Insert a knife on the flat side of the seed, being careful not to go too deep to avoid crushing the seed’s germ. Then soak them in room temperature water and wait overnight. The next day, they’re ready to move on to the next phase.
How to Germinate Olive Seeds?
Olive seeds are clean and ready for the planting phase and are now sown in a mix of soil and compost that in turn drains water into the soil.
Don’t worry, you’ll find all of this at a gardening store. This adventure is fun from start to finish…
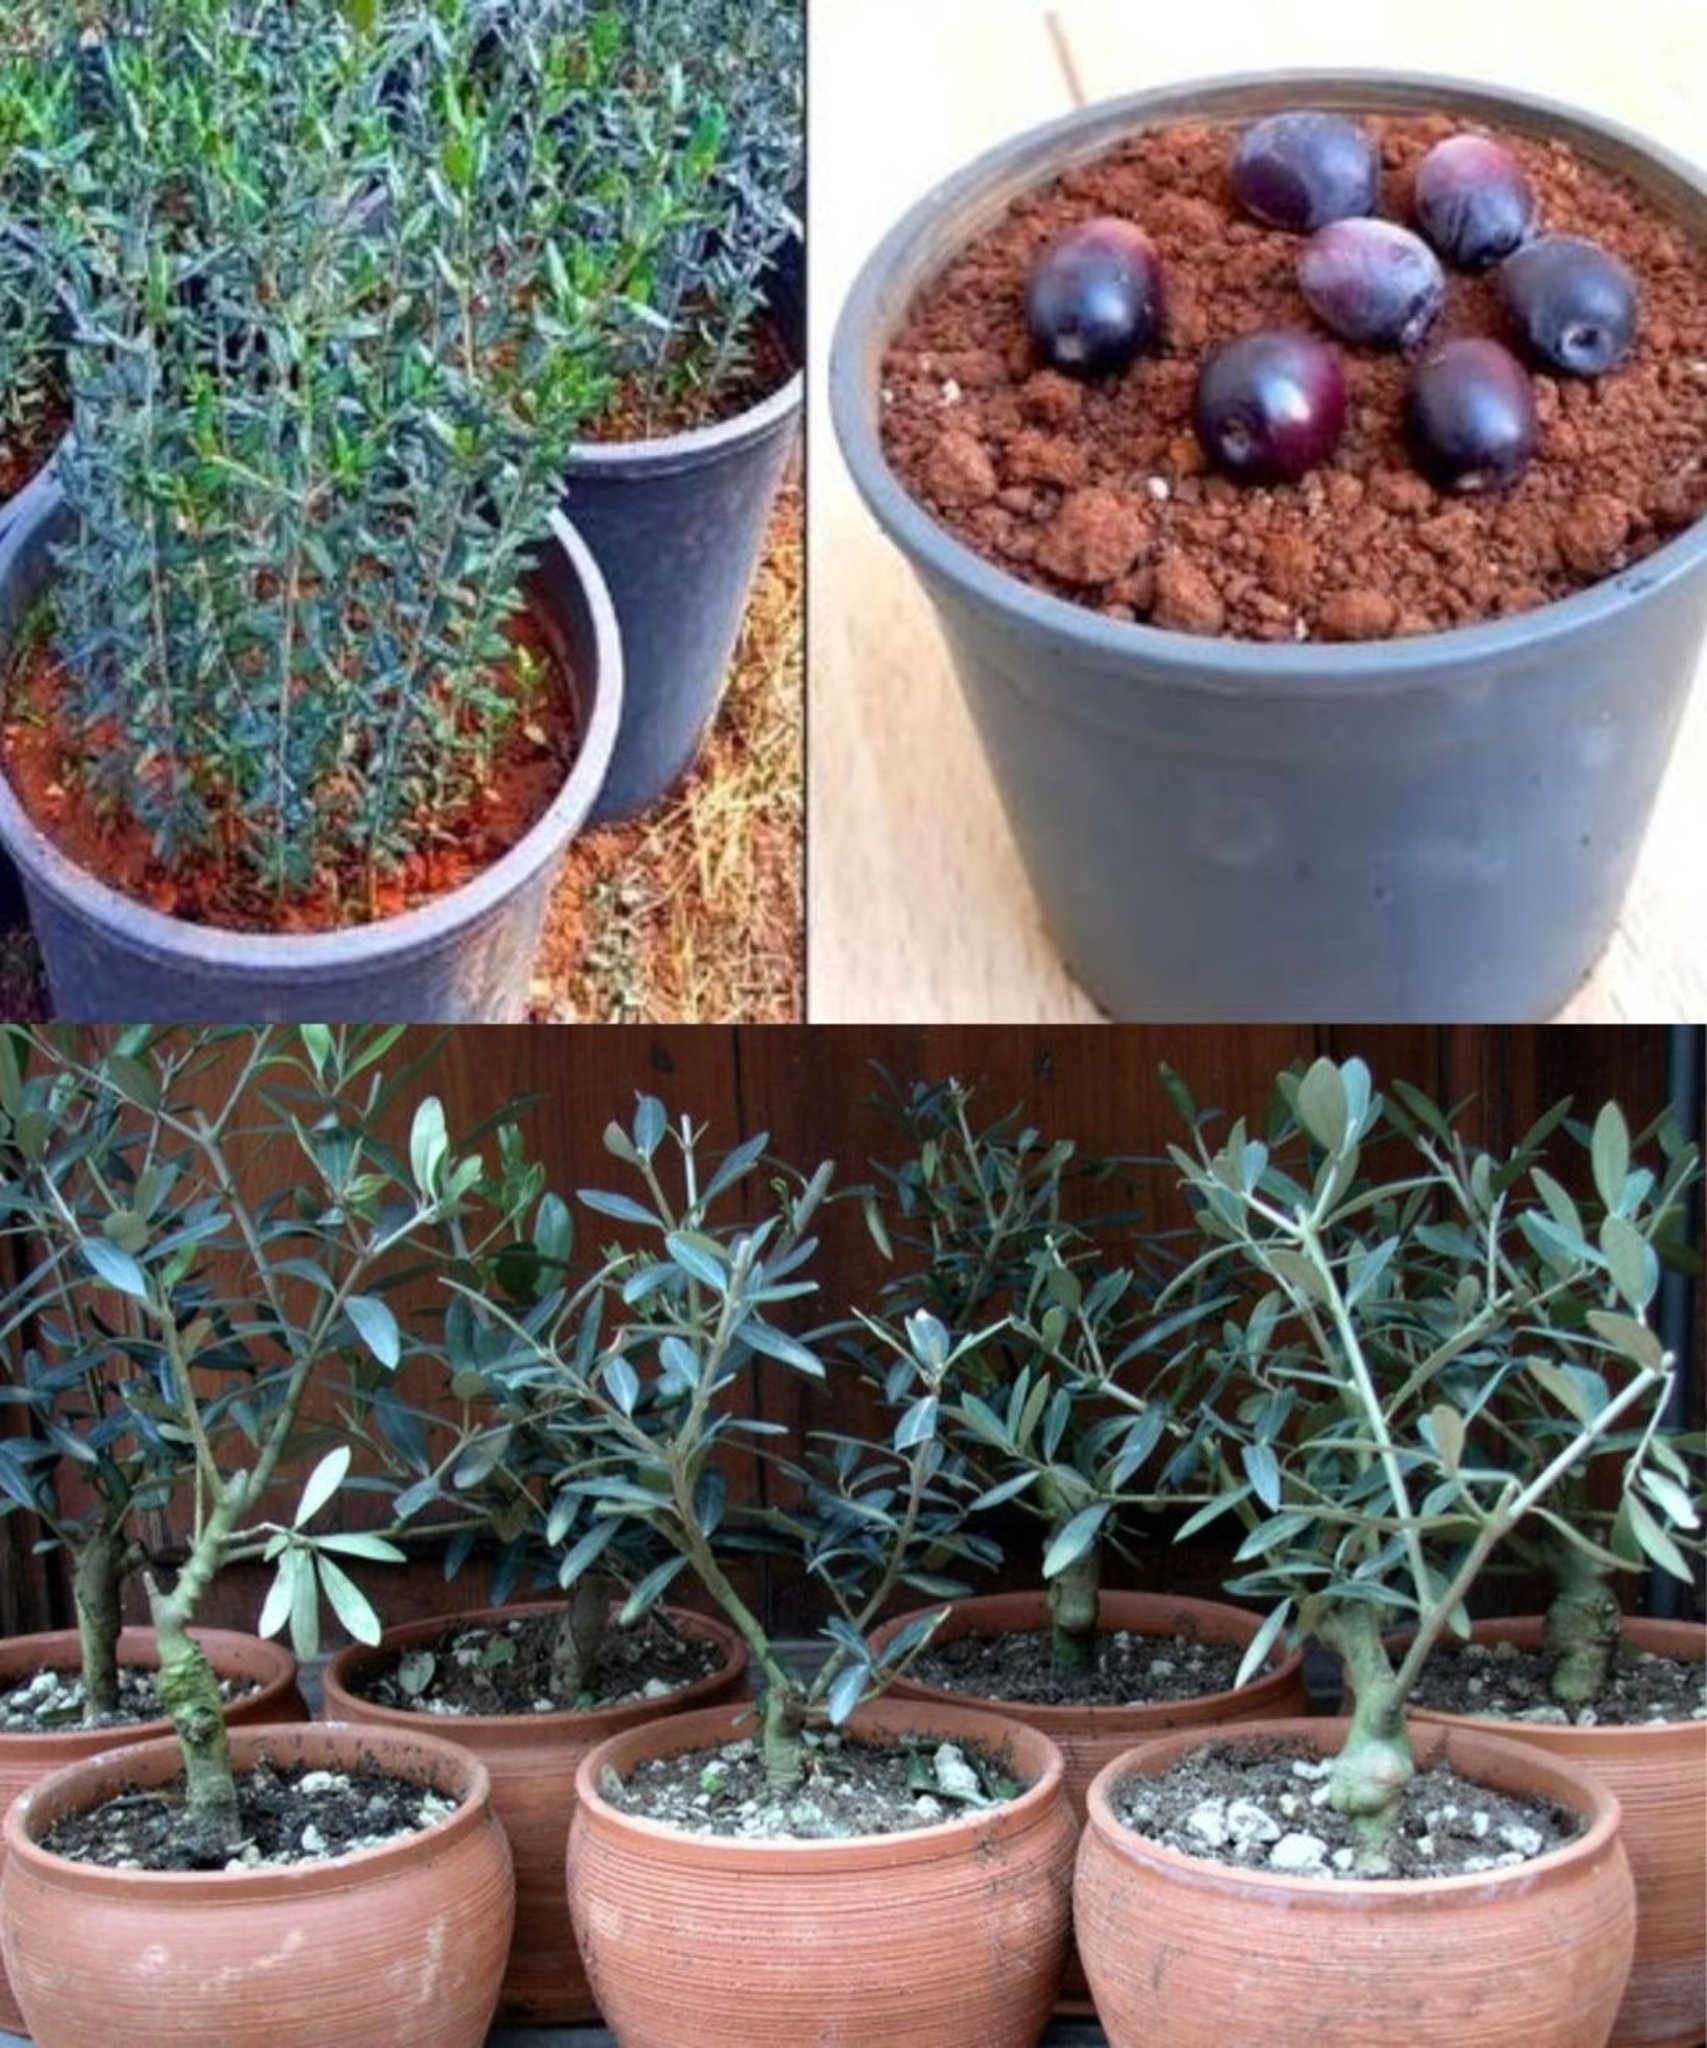
Plant One Olive Seed per Pot, Filled with Soil and Compost:
Insert one seed covered with soil and compost into each pot of about 7 cm, without forgetting to water, but also without flooding. Wear gloves if you want to mix the soil with your hands; a stick will also do.
Press the Seed in, but Don’t Forget to Expose the Pot to the Sun:
Bury the seeds up to 3/4 of the pot: the sun helps with germination. It’s best to plant one seed per pot so that it receives enough organic components and nutrients you’ve added.
Greenhouse Effect:
To achieve the greenhouse effect necessary for germination, enclose the pots in polyethylene plastic bags. Proximity to sunlight is advantageous, but don’t expose them directly from the start. After a month, you’ll observe the growth of the sprouts. It’s already taking shape, it’s fantastic
How to Grow an Olive Tree from an Olive Seed