Mulberry trees (genus Morus) are beloved for their delicious fruits, beautiful foliage, and adaptability to various climates. While mulberries are often propagated through cuttings or grafting, growing them from seed can be a rewarding and cost-effective way to establish new trees. In this comprehensive guide, we’ll explore the step-by-step process of growing mulberry trees from seed, drawing insights from horticultural experts and gardening enthusiasts.
1. Seed Collection:
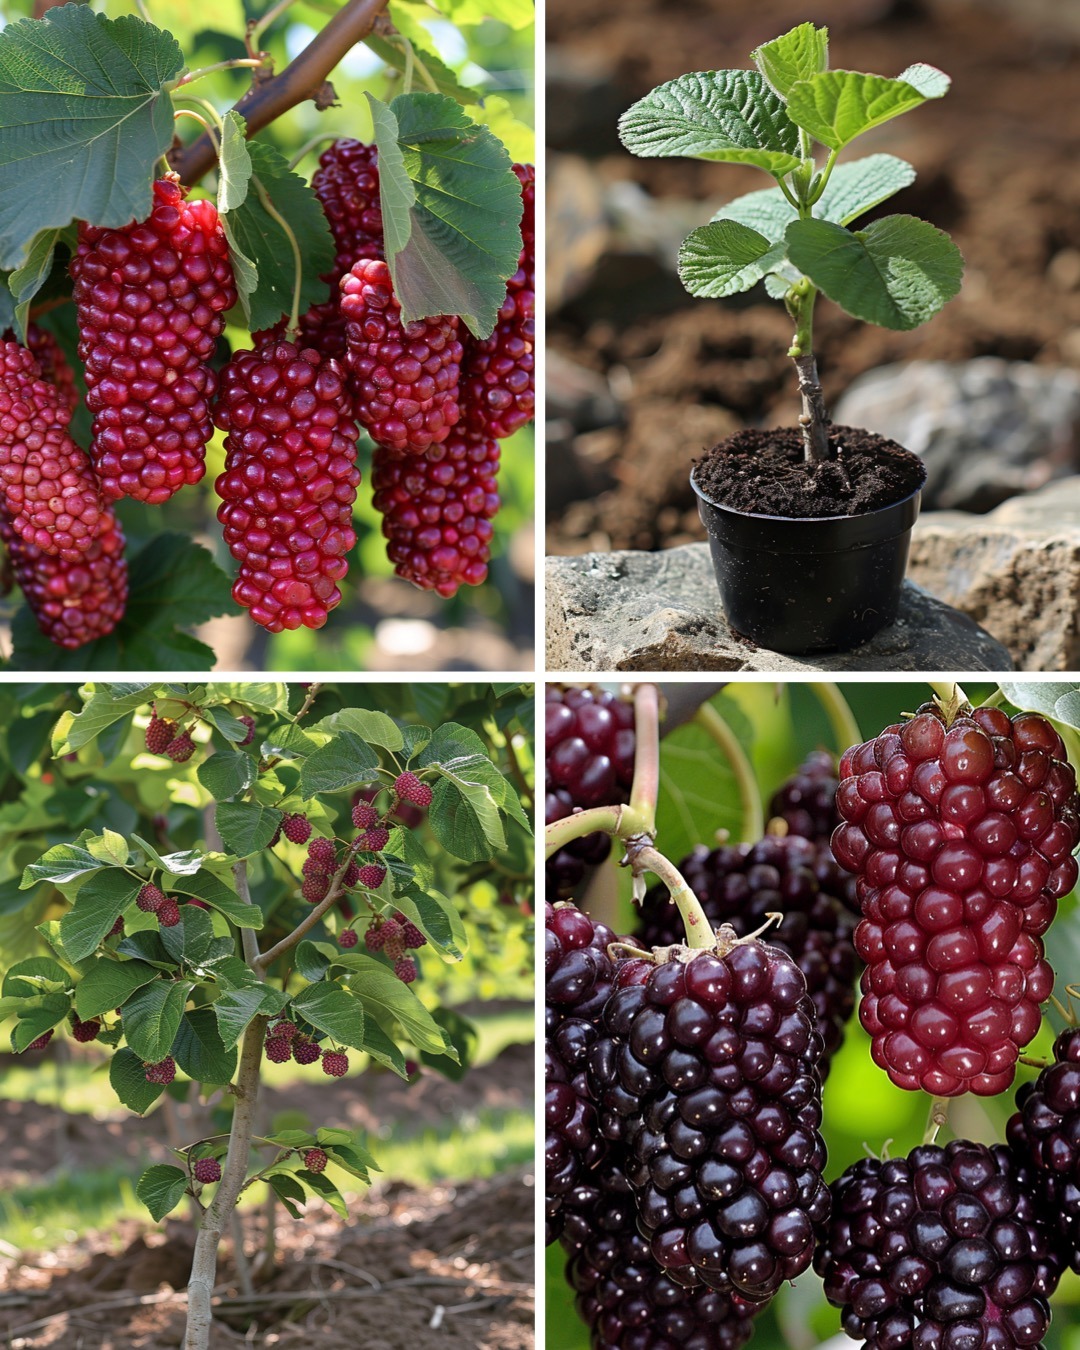
The first step in growing mulberry trees from seed is obtaining ripe fruits from a mature mulberry tree. Mulberries typically ripen in late spring to early summer, depending on the variety and location. Choose fully ripe fruits that are soft and juicy, indicating that the seeds inside are mature and viable.

2. Seed Extraction:
Once you have collected ripe mulberry fruits, gently crush them to release the seeds. Carefully separate the seeds from the pulp, taking care not to damage them during this process. Rinse the seeds thoroughly to remove any remaining pulp residue, as it can inhibit germination.
3. Seed Treatment:
Some gardeners recommend scarifying or stratifying mulberry seeds to improve germination rates. Scarification involves nicking or scratching the seed coat to facilitate water absorption, while stratification involves exposing the seeds to cold temperatures to simulate winter conditions. However, mulberry seeds may also germinate without these treatments.

4. Planting:
Fill small pots or seed trays with a well-draining potting mix. Plant the mulberry seeds about ¼ inch deep in the soil, spacing them evenly apart. Water the soil gently to moisten it, but avoid overwatering, as excess moisture can cause the seeds to rot.
5. Germination:
Place the pots or trays in a warm, sunny location with indirect sunlight. Keep the soil consistently moist but not waterlogged. Mulberry seeds typically germinate within 2-4 weeks, although it may take longer in some cases. Be patient and continue to provide optimal growing conditions.
6. Transplanting:
Once the mulberry seedlings have developed several sets of true leaves and are sturdy enough to handle, they can be transplanted into larger containers or directly into the garden. Choose a sunny location with well-drained soil for planting, and space the seedlings according to the mature size of the mulberry tree species.
7. Growing Conditions:
Mulberry trees thrive in full sun and prefer fertile, well-draining soil. Water young trees regularly, especially during dry periods, to help establish healthy root systems. Mulch around the base of the trees to conserve moisture and suppress weeds.
8. Pruning and Training:
As the mulberry trees grow, prune them selectively to shape the canopy and encourage strong, healthy growth. Mulberry trees can be trained to a central leader or an open vase shape, depending on your preference and space constraints.
9. Fruiting:
Depending on the variety and growing conditions, mulberry trees may take several years to reach maturity and produce fruit. Once mature, mulberry trees typically bear fruit in late spring to early summer. Harvest ripe fruits carefully to avoid damaging the branches and enjoy the delicious bounty of your homegrown mulberries.

Conclusion:
Growing mulberry trees from seed is a fulfilling endeavor that allows you to connect with nature and cultivate a bountiful harvest. By following these steps and providing proper care and attention, you can successfully establish mulberry trees in your garden and enjoy the beauty and bounty they bring for years to come. Happy gardening!